Greetings
once again to any multiple visitor's, and first greetings to anyone
on this page for the first time. I apologise for my less than speedy
post updates, but I have been terribly busy as of late pursuing my
more recently discovered talent of writing. You may see evidence of
this in the vernacular of this post.
Anyway.
Getting down to tacks of brass, have you veer felt the sudden urge to
spend the better part of a single day baking? All day? I'm sure to
some of you this is common place, but, for me, it is strictly
reserved for Christmas only that one should give their entire day
into creating confectioneries.
Yesterday I
broke this unspoken principle to gift my parents with a long desired,
beautiful, and irrationally difficult checker board cake for their
anniversary.
Given that
it was such a memorial occasion, and my crippling boredom from the
presence of the sought after, yet despised, summer break, I pushed
away any logic that said it might be stupid to fling myself into such
an advanced piece of artwork without prior experience. I would warn
anyone reading this reconsider what they are thinking of attempting.
This is not nearly as easy as the pictures and cooking shows,
including the magnificent Cake Boss, make it look. Trust me. If you
are easily angerable, think of anything else you might be able to do
that would hold just as much meaning as this, and if you can't think
of anything, I'd suggest playing your favourite style of music as
loud as is possible without provoking hearing damage or broken
speakers to maintain a fragile sense of calm. It won't last, but tis
always better to be prepared.
If, after
all this, you're still set on creating this masterpiece, then I
salute your mingled stupidity and persistence. You and I would get
along, cousin.
The checker
board cake is a series of nested rings in a pattern of chocolate,
vanilla, chocolate, and vanilla-this will vary according to how many
rings and how big your cake pan is. The first step is, of course,
finding your recipes. You will need one chocolate cake, one vanilla
cake, and a buttercream recipe. I would recommend using a layer cake
recipe because these are easier to deal with and require less
trimming than regular cakes.
Chocolate
Cake
Ingredients:
2 cups all
purpose flour
2/3 cup
unsweetened cocoa powder
1 1/2 teaspoons
baking soda
1/2 teaspoon
salt
1 cup butter,
melted
1 cup brown
sugar, lightly packed
3/4 cup
granulated sugar
4 large eggs
2 ounces
unsweetened chocolate, melted
1 1/2 teaspoons
vanilla
1 1/2 cups
buttermilk
Directions:
1. Beat
together the eggs and sugar until fluffy.
2. Add the
melted butter, melted chocolate, buttermilk, and vanilla and stir.
3. Next, add
the flour, cocoa, baking soda, and salt and beat until no lumps
remain.
4. Pour all the
dough into a ten inch spring form pan, or split between two nine inch
pans, that have been greased and floured or lined with parchment
paper. (Keep in mind this pan(s) will need to be the same size as the
one you bake the vanilla cake in.)
5. Bake at 350
degrees Fahrenheit for 35-45 minutes. (This will vary according to
whether you used two nine inch pans or one ten inch.)
6. When
removed, wait ten minutes and remove the cake from the pan and onto a
plate or cutting board. For rushed chilling, place the cake into the
freezer or refrigerator.
Vanilla
Cake
Ingredients:
1/2 cup butter,
melted
2 cups all
purpose flour
1 tablespoon
baking powder
1/2 teaspoon
salt
1 1/2 cups
granulated sugar
3 large eggs
1 cup milk
1 teaspoon
vanilla extract
Directions:
1. Whip
together the eggs and sugar, then add the melted butter.
2. Stir in the
milk and and vanilla.
3. Add the
flour, baking powder, and salt, and stir until no lumps remain.
4. Pour into a
spring form pan (This will need to be the same size as the one used
for the chocolate cake) that has been greased and floured or lined in
parchment paper.
5. Bake at 350
degrees Fahrenheit for approximately 35 minutes.
Buttercream
Ingredients:
1 cup of
butter, softened
4 cups icing
sugar
4-5 tablespoons
cream
3 teaspoons
vanilla
Directions:
1. Beat the
butter with an electric mixer.
2. Add the
icing sugar and beat on a low speed until you have a crumbly powdery
mixture.
3. Mix in the
vanilla and cream. The amounts are suggestions. You will need to add
more than twice as much cream to make the buttercream thin enough to
spread on the cake, or your cake will just break. Add more cream for
layering and dirty-icing, and less for decorating. Food colouring can
also be added.
Assembly:
This
is the hardest part. You will need cake stencils. This will involve a
compass from a protractor kit and a paper. After you have baked both
cakes comes the meticulous portion of the activity.
1.
Measure how long your cake is at the widest part with a ruler-mine
was ten inches- then decide how wide you want your rings to be. I
would play it safe, and stick with one and a half inches.
2.
Set the point of your compass at the centre of the ruler and the
pencil at the edge of the cake, then move the compass inwards one and
a half inches(or whatever length you have chosen for your rings),
then, without changing the setting of the compass, move it to a piece
of paper and draw the perfect circle.
3.
Follow the same steps, making each ring the correct width smaller
each time until your run out of cake. You will have no more than
three circles when you are finished.
4.
Cut out the circles. These will be your stencils. Poke holes into the
centre points of each one.
5.
Cut both the chocolate and vanilla cakes in halves, making four
smaller cakes. Two chocolate, and two vanilla.
6.
Insert a toothpick into the centre of your cake and slide the biggest
stencil over it.
7.
Using as small knife, cut around the stencil carefully.
8.
Do the same with each smaller stencil until the entire layer has been
cut into rings.
9.
Repeat steps 6-8 with the remaining layers.
10.
When that is done, mix a batch of buttercream. Make sure this is very
thin, or it will not spread on the exposed surface of the cake.
11.
Take the largest ring of a vanilla layer and set it onto a flat
surface. (Warning!There will be no moving it after this.) You may
desire to have someone else help you with this, as the cake may
crumble without enough support.
12.
Now take the next smaller ring of a chocolate layer and nest it
within the vanilla ring. Now the next smallest vanilla. Followed by
chocolate. And so on, until the layer is complete.
13.
cover the top of this in a very thin layer of the buttercream.
14.
Repeat steps 11 and 12, starting with a chocolate layer this time and
set it on top of your just finished layer. Spread buttercream on this
as well.
15.
Do this with the rest of the cake rings. Changing between starting
with chocolate and vanilla rings.
16.
Now that all your layers are stacked, dirty-ice your cake.
Dirty-icing, for those of you that don't know, is the term used when
describing the process of using a very thin layer of buttercream to
even out ridges and to get stuck full of all those annoying loose
crumbs so they don't ruin your beautiful blue or green or pink
frosting. Your cake will look truly awful after dirty-icing, but
never fear, because you add another layer of icing after.
17.
This is wear creative freedom comes into play. Go nuts. You can
decorate plain or for birthdays or anything else. I decorated for an
anniversary.
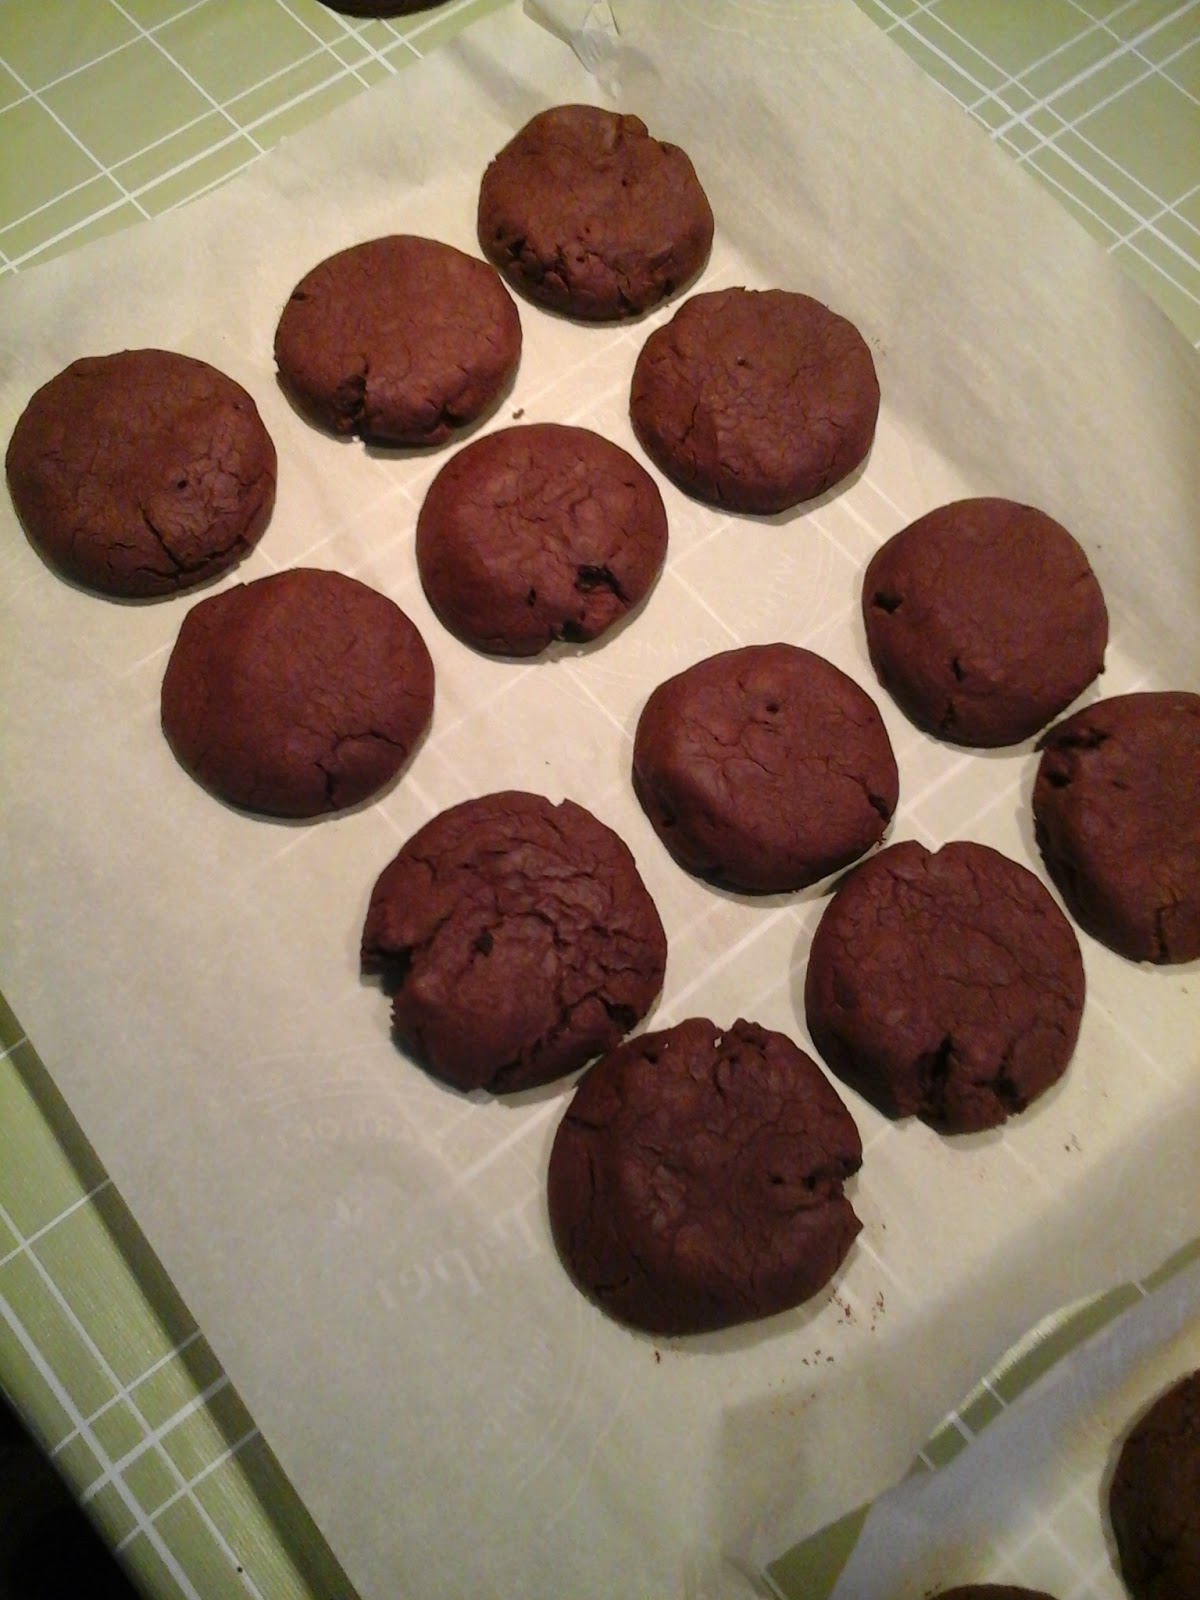
Congratulations
to anyone who lasted this entire post! I know it dragged a little,
and was probably highly confusing. I will enclose a picture of the
process-not mine; unfortunately I had not thought to take pictures
during the creation-to help you understand.
I
wish good luck to anyone who is still foolish enough to want to try
this. But here is a secret: it tastes eternally worth it.